Introduction
Finding your Acer Chromebook slower than usual can be frustrating, especially during important tasks. Limited RAM or storage space might be the culprit. Fortunately, you can enhance your device’s performance by using a USB drive to expand memory. This blog will guide you through the steps to speed up your Acer Chromebook with a USB drive, ensuring a smoother and more efficient user experience.

Understanding Chromebook Performance Challenges
Chromebooks are known for their simplicity, affordability, and efficiency in handling basic tasks. However, their limited memory and storage often lead to performance issues. As applications and data accumulate, the available RAM depletes, causing delays and slower operations. This not only hinders productivity but also affects the overall user experience.
The good news is that using external memory solutions such as USB drives can alleviate these issues. Let’s explore how USB drives can enhance your Chromebook’s speed and efficiency.
Benefits of Using a USB Drive for Memory Expansion
Extending your Acer Chromebook’s memory with a USB drive offers several advantages. It helps offload some data and applications from the internal storage, making room for the system to perform better. This results in faster boot times, quicker application launches, and smoother multitasking.
Moreover, utilizing a USB drive for memory expansion is a cost-effective method. Upgrading the internal hardware can be expensive and complex, while USB drives are affordable and easy to install. Additionally, USB drives are removable, allowing for versatility in their use with other devices or different purposes.
Next, it’s essential to choose the right USB drive for optimal performance.
Choosing the Right USB Drive for Your Chromebook
Not all USB drives are the same. To optimize your Chromebook Acer’s performance, consider the following factors:
- Storage Capacity: Choose a USB drive with ample storage. While 16GB might suffice for minimal needs, 32GB or higher is recommended for significant performance gains.
- Read/Write Speed: Higher read/write speeds mean faster data transfer. Prefer USB 3.0 drives over USB 2.0 for their significantly higher speeds.
- Build Quality: Opt for sturdy and reliable brands like SanDisk, Kingston, and Samsung to ensure longevity and reliability.
- Compatibility: Ensure the USB drive is compatible with the Chromebook’s operating system to avoid setup issues.
With the right USB drive, you’re one step closer to improving your Chromebook’s performance.

Preparing Your USB Drive
Before using your USB drive for memory expansion, prepare it properly. Follow these steps:
- Back-Up Data: Backup important data from the USB drive as the setup process will erase its contents.
- Formatting: Format the USB drive to ensure it’s clean and compatible with your Chromebook.
- Insert the USB drive into a USB port.
- Open the Files app on your Chromebook.
- Locate the USB drive under the ‘Devices’ section.
- Right-click on the drive and select ‘Format device’.
- Follow the on-screen instructions to complete the formatting process.
With the USB drive formatted, you are ready to proceed to the setup.
Step-by-Step Guide to Setting Up the USB Drive
Here’s how to set up your USB drive to speed up your Acer Chromebook:
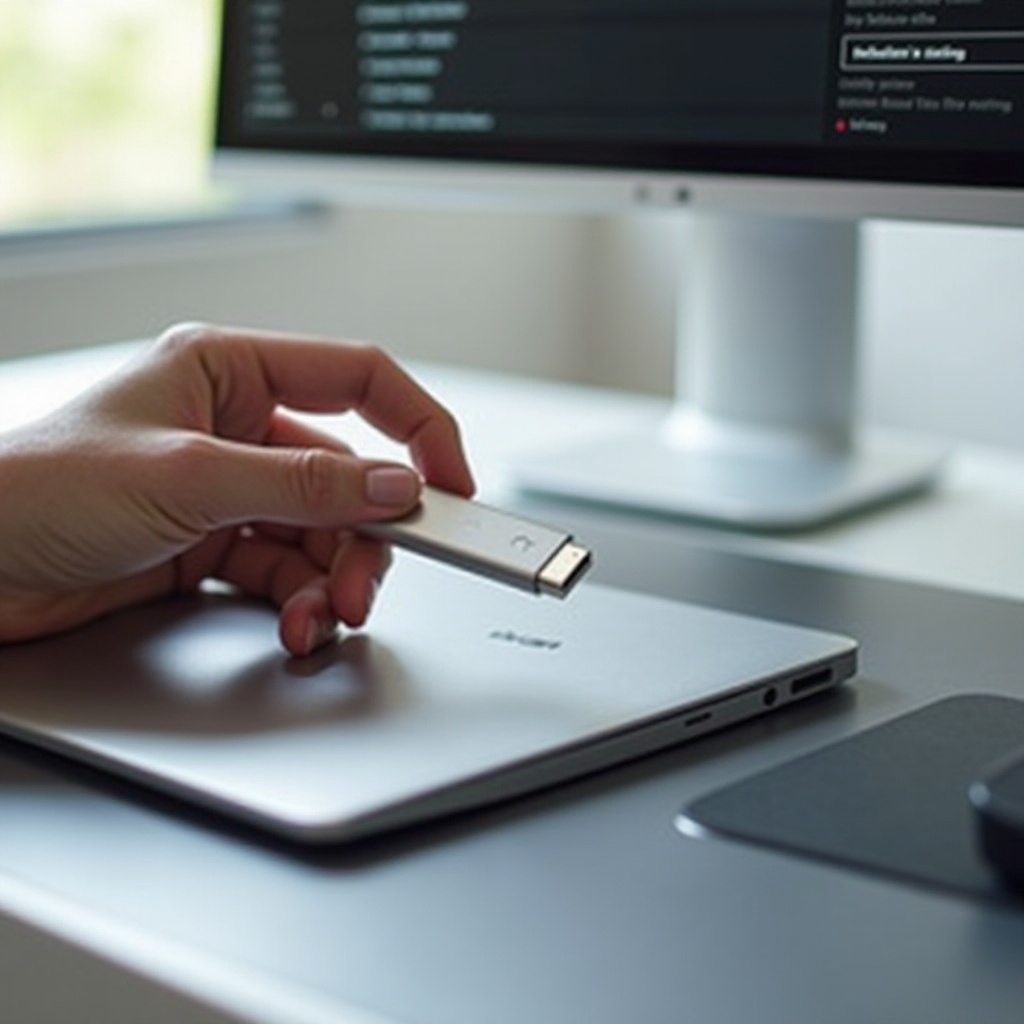
- Insert the USB Drive: Plug the USB drive into one of your Chromebook’s USB ports.
- Access Settings: Click on the time in the bottom-right corner of the screen and select the ‘Settings’ gear icon.
- Open Storage Management: In the Settings menu, navigate to ‘Device’ and then click ‘Storage management’.
- Enable External Storage: Locate the USB drive in the listed storage devices and enable it for use by toggling the corresponding switch.
- Move Files: To free up internal storage, move less frequently used files to the USB drive.
- Open the Files app.
- Drag and drop files or folders from ‘Downloads’ or other sections to the USB drive.
- Configure Apps: Some applications allow their data to be stored on external drives. Check each app’s settings to move its data to the USB drive if possible.
By following these steps, your Chromebook Acer should have additional memory, leading to improved performance.
Additional Tips to Maintain and Optimize System Performance
While using a USB drive can significantly enhance your Chromebook’s performance, regular maintenance is also crucial:
- Clear Cache and Unnecessary Files: Regularly clear the cache and remove unnecessary files or apps to free up space.
- Update Chrome OS: Keep your Chromebook’s operating system updated to ensure compatibility and security improvements.
- Use Task Manager: Monitor resource usage with Task Manager to identify and close unnecessary background tasks.
These additional tips will help keep your device running smoothly over time.
Conclusion
Using a USB drive to expand your Acer Chromebook’s memory is a practical and cost-effective way to boost performance. By carefully selecting the appropriate USB drive and following the setup steps, you can enjoy faster boot times and smoother operations. Don’t let memory limitations slow you down – take control of your Chromebook’s performance today.
Frequently Asked Questions
Can any USB drive be used to speed up a Chromebook?
Not all USB drives are suitable. It’s important to choose a USB drive with sufficient storage capacity and high read/write speeds (preferably USB 3.0) for optimal performance gains.
How much storage capacity should my USB drive have?
A USB drive with at least 32GB of storage is recommended for noticeable performance improvements, although larger capacities like 64GB or 128GB provide more flexibility.
What are other ways to improve Chromebook performance aside from using a USB drive?
Other methods include clearing the cache and unnecessary files, keeping the Chrome OS updated, and monitoring and closing unnecessary background tasks using the Task Manager.