Introduction
Google Pixelbook Tablet is a sleek device known for its design and functionality. One essential feature that users often inquire about is the location of the microphone. Understanding its placement is crucial for optimal usage, whether you’re taking calls, recording audio, or using voice commands. This article will guide you through the design overview, precise location, practical uses, troubleshooting tips, and ways to maintain your microphone. Let’s dive in and ensure you get the best out of your Google Pixelbook Tablet’s microphone.
Overview of Google Pixelbook Tablet Design
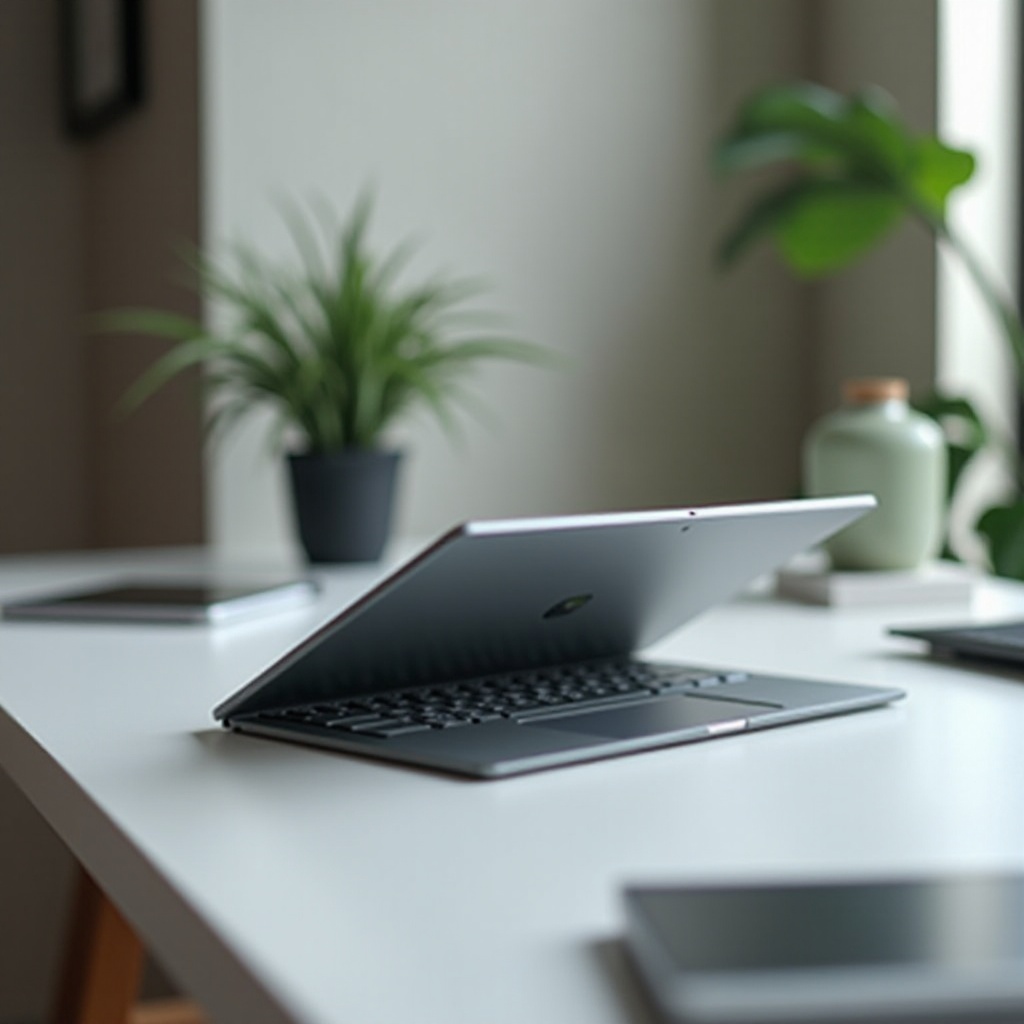
The Google Pixelbook Tablet is renowned for its innovative design and high functionality, making it a popular choice among tech enthusiasts. The sleek aluminum body, complemented by Corning Gorilla Glass, provides durability and a premium feel. The Pixelbook boasts a versatile 360-degree hinge, allowing you to use it in various modes, including tablet, tent, and laptop.
The device features a 12.3-inch high-resolution display, which is perfect for both work and play. With up to 16GB of RAM, Google Assistant integration, and a battery that lasts up to 10 hours, the Pixelbook Tablet is designed for efficiency and convenience. However, amidst these advanced features, the exact placement of the microphone might not be immediately apparent, which leads us to our next section.
Locating the Microphone on Your Google Pixelbook Tablet
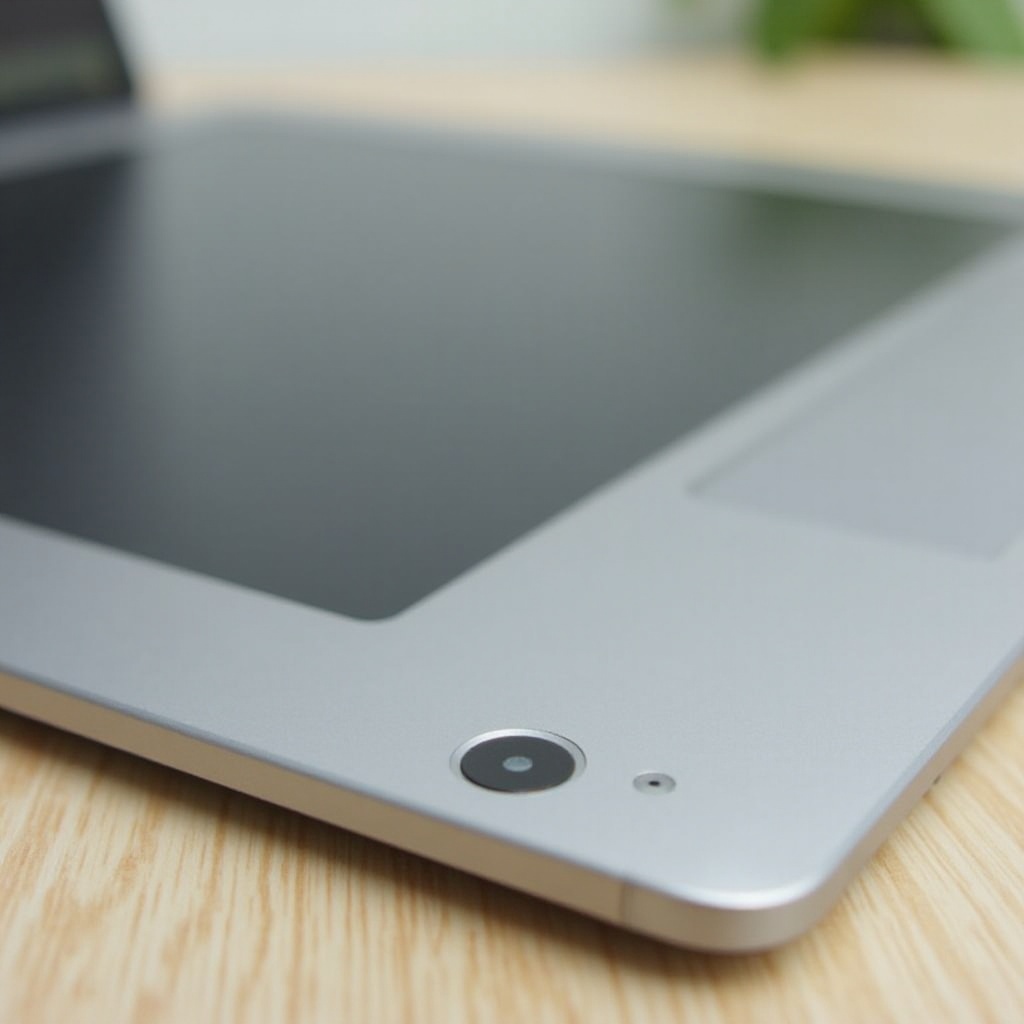
Finding the microphone on your Google Pixelbook Tablet can be slightly challenging due to its minimalistic design. However, knowing its location is crucial, especially for tasks like making video calls, recording, and using voice assistants.
Here’s a simple guide to help you locate the microphone:
1. Near the Camera: Typically, the microphone is placed near the camera at the top of the screen. This placement is ideal for picking up voices clearly during video calls or when using Google Assistant.
2. Check for Small Openings: Look closely for small pinholes around the edges of your device. These tiny openings are usually where the microphone is hidden.
3. Refer to the Manual: The user manual or Google’s support website provides precise details about the microphone’s location. If in doubt, this should be your go-to resource.
Understanding the microphone’s exact placement helps in ensuring you do not cover it with cases or your hands while using it, thus maintaining clear audio quality. Now that you know where the microphone is, let’s explore the practical applications.
Practical Uses of the Microphone
Microphones play an integral role in the functionality of your Google Pixelbook Tablet. Here are some practical uses:
- Video Calls and Conferences: The built-in microphone ensures clear audio during video calls and conferences, making remote communication effective and seamless.
- Voice Commands: With Google Assistant integrated into the Pixelbook, the microphone allows for hands-free operations through voice commands.
- Audio Recording: The microphone is perfect for recording lectures, meetings, or notes, making it a handy tool for students and professionals alike.
Understanding these applications highlights the importance of a properly functioning microphone and the role it plays in daily use of the Pixelbook Tablet.
Troubleshooting the Microphone
Even though the microphone on Google Pixelbook Tablet is designed to be reliable, issues can arise. Here are some troubleshooting steps to follow if you encounter problems:
- Check Microphone Settings: Ensure that your microphone is enabled in the settings. Go to Settings > Privacy > Microphone and check if any app has restricted access.
- Restart the Device: A simple restart can resolve many hardware and software glitches. Hold the power button, select restart, and check the microphone functionality post reboot.
- Update Software: Ensure your Pixelbook is running the latest Chrome OS version. Software updates often include bug fixes and improvements for the microphone.
- Physical Inspection: Inspect the microphone opening for any blockage or debris. Clean it carefully to ensure nothing is obstructing sound capture.
If these steps don’t resolve the issue, contacting Google support or visiting a professional technician is recommended.
Tips for Maintaining Your Microphone
Proper maintenance of the microphone ensures its longevity and optimal performance. Here are some tips:
- Keep it Clean: Regularly inspect and clean the microphone opening using a soft brush or compressed air to remove dust and debris.
- Avoid Moisture: Keep your device away from moisture and extreme temperatures, which can damage the microphone.
- Use a Case Wisely: Ensure that the case you use does not cover the microphone opening. If it does, opt for a case designed specifically to accommodate the microphone.
Following these maintenance tips can help prevent issues and extend the life of your Google Pixelbook Tablet’s microphone.
Conclusion
The microphone on your Google Pixelbook Tablet is a small but essential component that enhances your device’s functionality. Knowing its location, understanding its practical uses, and keeping it in good condition ensures you make the most out of your tablet. Regular troubleshooting and maintenance go a long way in preserving its performance.
Frequently Asked Questions
How do I check if my microphone is working on Google Pixelbook Tablet?
To check if your microphone is working, go to the Chromebook Settings > About Chrome OS > Diagnostics. From here, select ‘Audio Record Test’ and speak into the microphone. Confirm if the device successfully captures and plays back your voice.
What should I do if the microphone on my Google Pixelbook Tablet is not working?
If your microphone isn’t working, start by checking the permissions in your settings to ensure applications have access. Next, clean the microphone opening, restart your device, and update Chrome OS. If the issue persists, contact Google support for assistance.
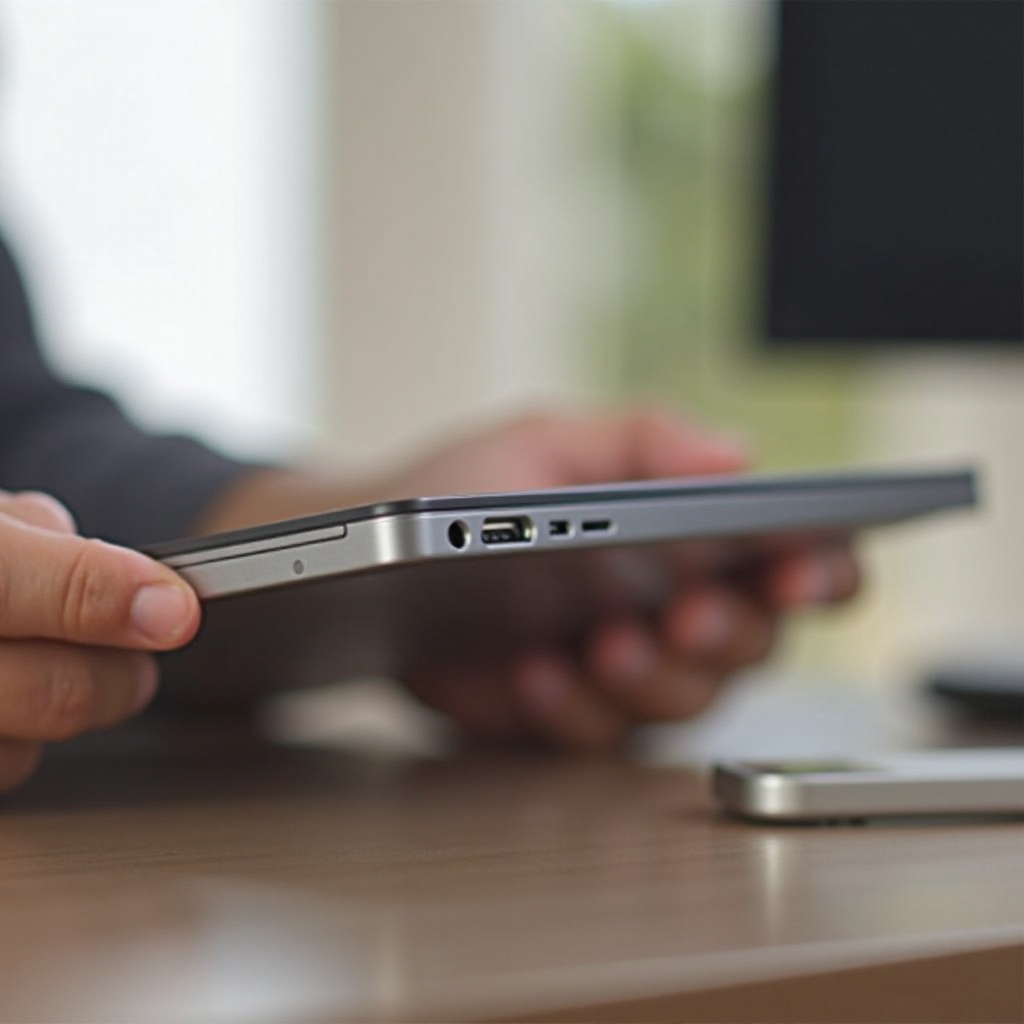
Can I use an external microphone with my Google Pixelbook Tablet?
Yes, you can use an external microphone with your Google Pixelbook Tablet. Connect it via the USB or 3.5mm audio jack. Once connected, ensure you select the external microphone in the audio settings for it to function properly.